Installation And Setup
Setting up Git and GitHub allows you to track changes in your code and collaborate seamlessly with other developers. Git is the local tool that manages your file history, while GitHub is the cloud platform where your repositories live
Here is the complete step-by-step installation and configuration guide for Windows, Mac, and Linux.
Step 1: Install Git on Your System
Windows
-
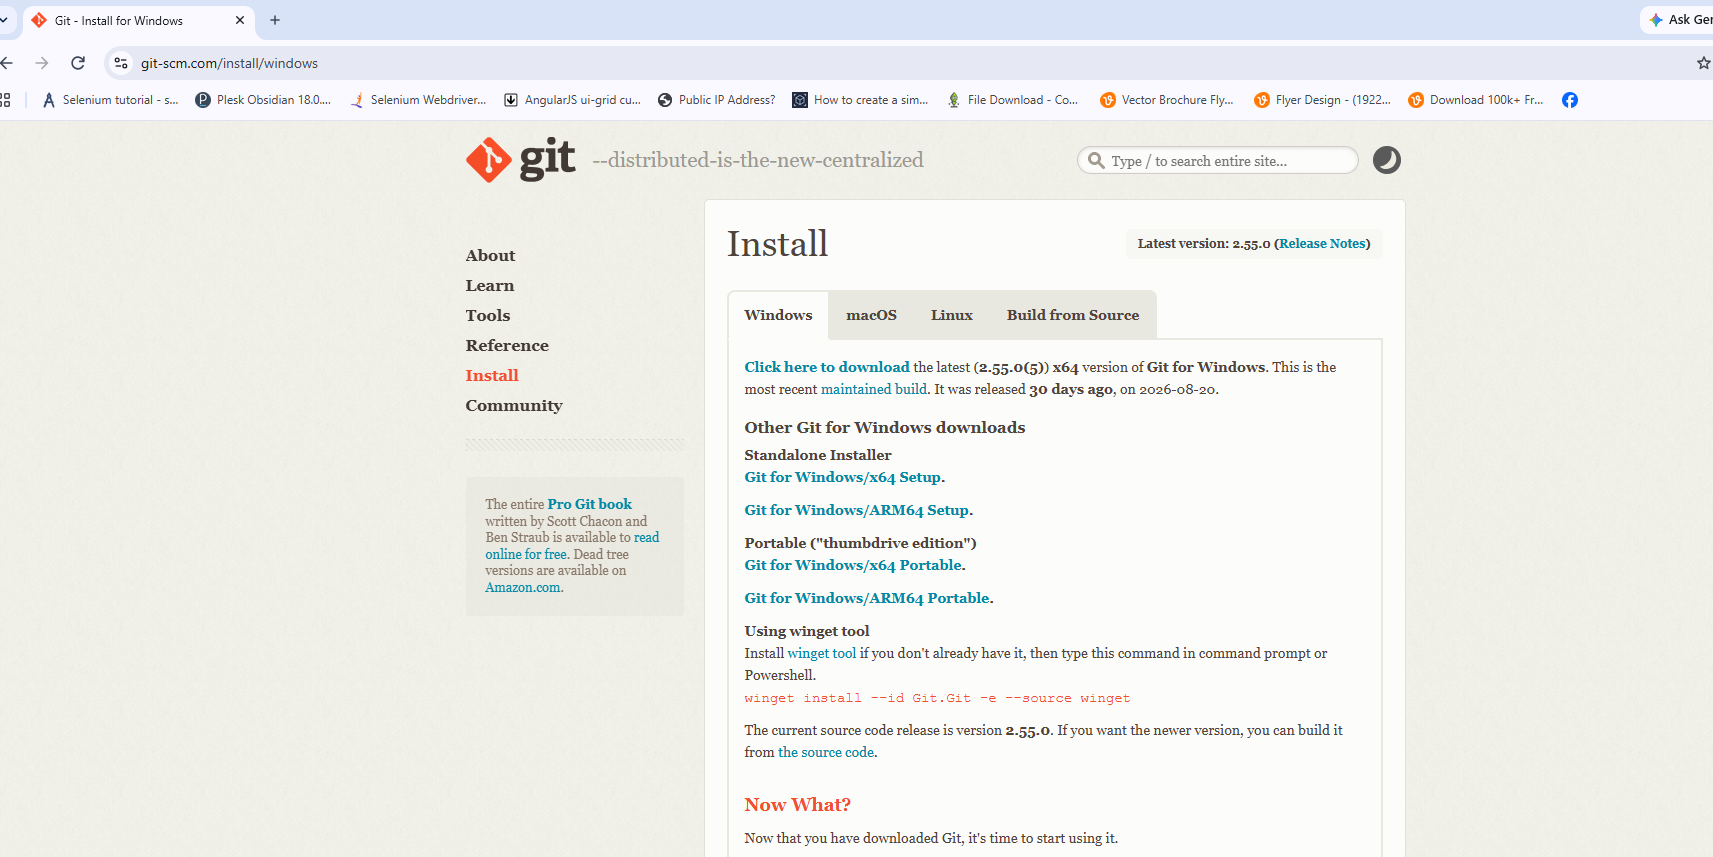
Visit the official Git for Windows download page.
-
Download the 64-bit Git for Windows Setup installer
-
Run the downloaded git .exe file.
-
Click Next through the setup prompts. The default settings work well for most users, but ensure you keep these selections:
- Choosing the default editor: Select Visual Studio Code (or your preferred editor) instead of Vim.
- Adjusting your PATH environment: Choose "Git from the command line and also from 3rd-party software".
- Choosing the default branch name: Select "Override the default branch name for new repositories" and set it to main to align with GitHub
macOS
You can install Git quickly via Terminal:
-
Open the Terminal app (press Cmd + Space, type "Terminal")
-
Run the downloaded git .exe file.
git --version -
If not installed, a prompt will ask you to install Xcode Command Line Tools. Click Install.
-
Alternatively, if you use Homebrew, run the following command to install the latest version:
brew install git
Linux
Open your terminal and run the package manager command corresponding to your distribution:
-
Ubuntu/Debian
sudo apt update
sudo apt install git-all -
Fedora/CentOS
sudo dnf install git-all
Step 2: Verify Your Installation
Once installed, open your command-line interface (Git Bash on Windows, or Terminal on Mac/Linux) and run:
Step 3: Configure Your Git Profile
git config --global user.email "your_email@example.com"
git config --global init.defaultBranch main
Note: Use the exact email address you plan to use for your GitHub account.
Step 4: Create a GitHub Account
-
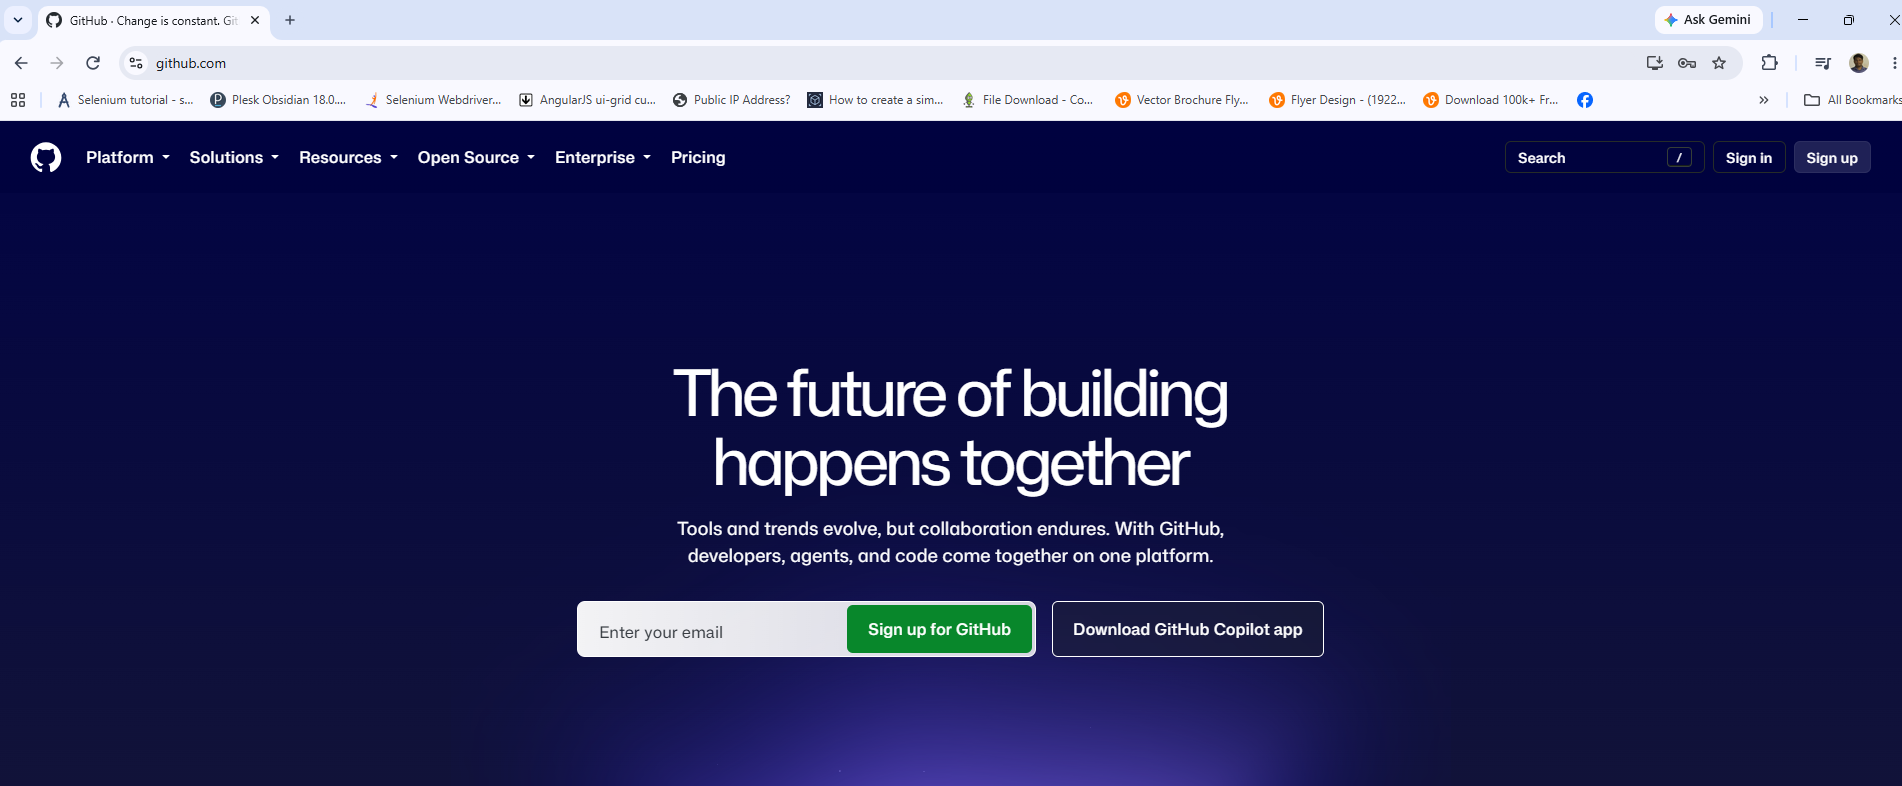
Open GitHub website "https://github.com/"
-
Click Sign up in the top-right corner
-
enter your email, create a secure password, and select a unique username.
-
Verify your account through the confirmation email sent to you
-
Authentication Setup: Because GitHub does not allow standard password authentication when pushing code via the terminal, you will need to authenticate using either a Personal Access Token (PAT) or an SSH Key:
- Option A (Easiest): Connect your GitHub account directly through Visual Studio Code by clicking the Source Control icon and signing into GitHub when prompted.
- Option B (Tokens): Go to GitHub Settings > Developer Settings > Personal Access Tokens > Tokens (classic) to generate a token for command-line access.